The Hip Violet Blog has moved!
Visit our new blog here:
Hip Violet's blog
See you there!

Thursday, March 1, 2012
Tuesday, February 7, 2012
{Tip O' the Day} Winter Boredom Buster!


Other ideas for painters tape - you could make race track for cars, roads for princess carriages, or a mini four-square court if you're brave!
What ideas do you have for Winter Boredom Busters? Post a comment - I would love to hear them!
Thursday, December 22, 2011
Easy Fabric Gift Bag Tutorial

This year I'm trying to cut back on my wrapping paper usage, so I made some of these easy, festive,and reusable fabric gift bags. So can you! If you can sew in a straight line, you can make these!
Materials Needed:
Fabric
Ribbon
Tools Needed:
Sewing Machine
Iron
Safety Pin
Ruler
Fabric Marker or Washable Marker


Now take your fabric and fold down the top edge about 3/4". This will be the casing for a ribbon drawstring to close the top. My ribbon was about 1/4" wide, if you're using a wider ribbon, measure your ribbon and add about a half inch so you have plenty of room for it to fit.


jesi
Tuesday, November 15, 2011
{Handmade Baby Gifts} The Holidays are Coming!
 |
| Here is my newest applique design - a FOX! Isn't he cute? This bib is so new it's not listed on my Etsy site yet. BUT I'll have a bunch of these at all my upcoming Craft Shows! Look at the sidebar on the right for a complete list of upcoming shows! |
 |
| A great customer of mine wanted to cover up her little boy's shirt and bow tie at a wedding reception with... a shirt and bow tie! Here you go! |
Wednesday, September 21, 2011
For Little Ghouls and Goblins
Check out these super cute Halloween inspired items from my fellow Etsykids members!
 Halloween Costume Cupcake Toppers from Your Blissful Day
 Halloween Twirl Skirt from Chew Chew's Closet

Ghostie Hair Clips by marmalade creations
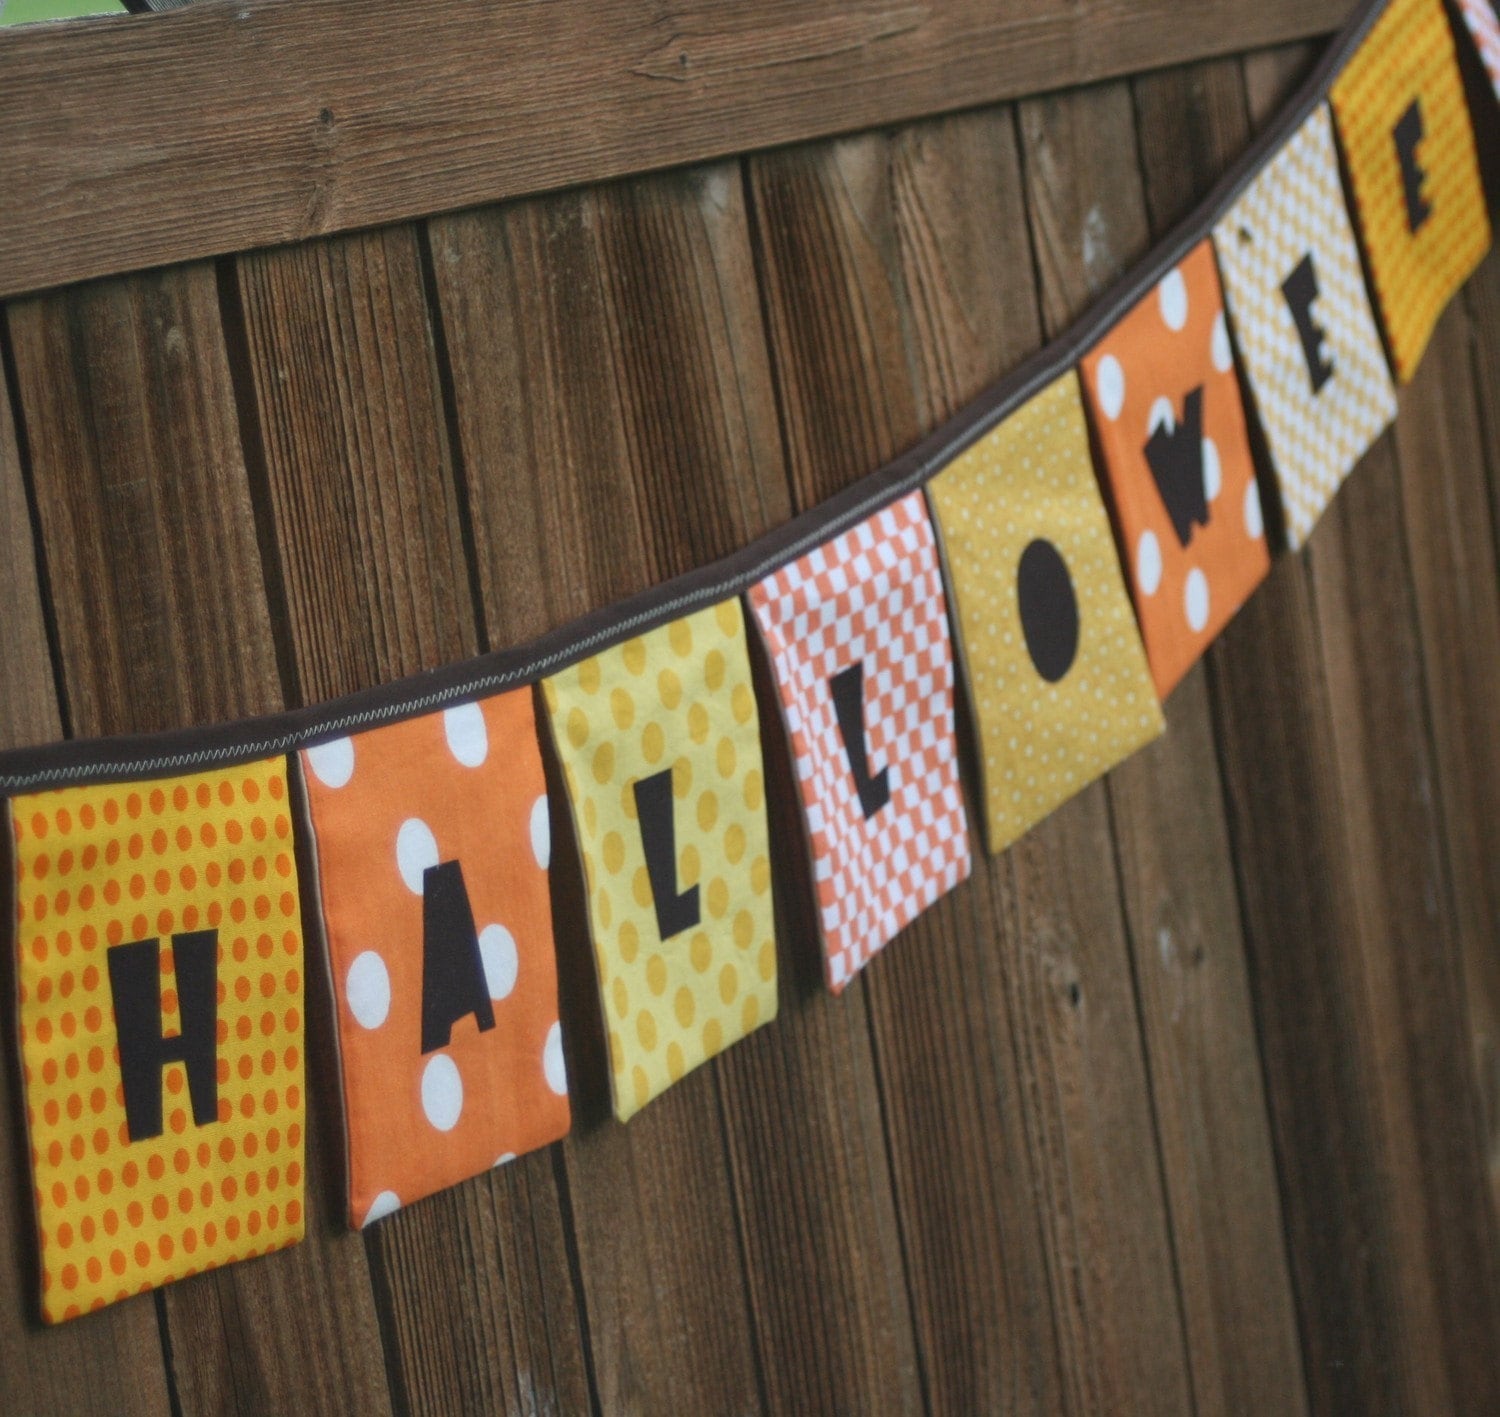 Happy Halloween Fabric Banner by The Polka Dot Tot Shop
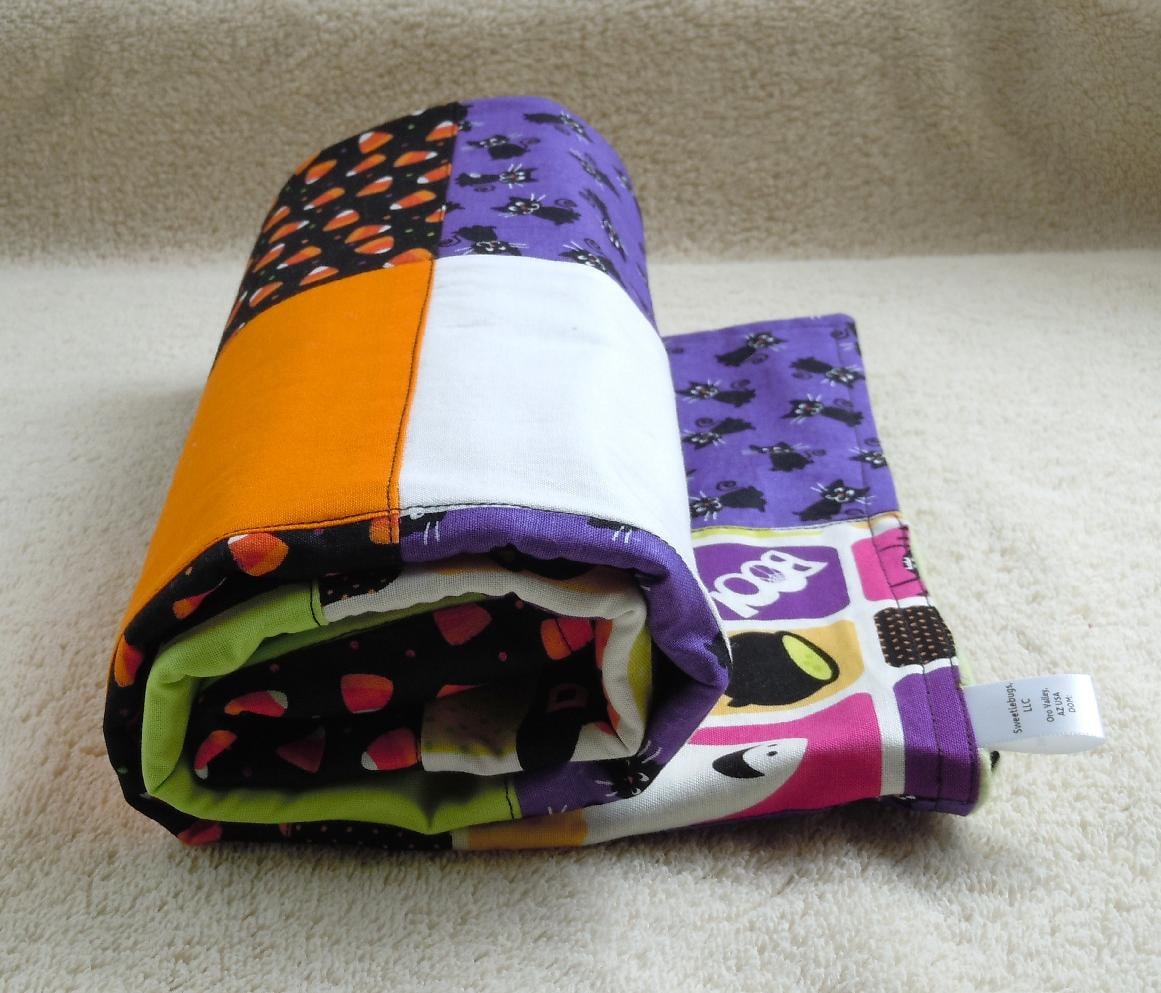 Happy Halloween Patchwork Flannel Blanket from SweetieBugs
Ghostie Hair Clips by marmalade creations
Monday, June 27, 2011
{Handmade Baby Shower Gifts} New Bib Designs!
I have been busy making some new bib designs! Here is a really cool gender neutral bib with retro lamps fabric. Appliqued on top is a green whale in black thread. The back of this bib is black fleece.
 Here is one of my popular horse profile bibs! This one has a beautiful pink and mint green fabric in the back, and a pink checked horse appliqued on top.
 I also found this great green floral fabric and appliqued a coordinating stripey green elephant on top. So cute!
 Here are some other favorites from fellow members of the Etsykids Team!
Super cute bacon & eggs felt hair clip from marmalade creations:
 Biker Dude cloth wipes set by Applesauce Crafts:
 And this amazing dress made out of (my favorite!) a vintage tablecloth! This is by Chirp & Bloom:
 Happy shopping!
jesi
Here is one of my popular horse profile bibs! This one has a beautiful pink and mint green fabric in the back, and a pink checked horse appliqued on top.I also found this great green floral fabric and appliqued a coordinating stripey green elephant on top. So cute!Here are some other favorites from fellow members of the Etsykids Team!Super cute bacon & eggs felt hair clip from marmalade creations:
Biker Dude cloth wipes set by Applesauce Crafts: And this amazing dress made out of (my favorite!) a vintage tablecloth! This is by Chirp & Bloom:
 Happy shopping!
jesi
Wednesday, May 25, 2011
Handmade Appliqued Kitchen Towels


Subscribe to:
Posts (Atom)